
In the earlier posts, we saw how to Setup Ansible, simple playbooks with groups, variables, conditionals and loop
In this article we’ll discuss about using Notify Handler, Roles, Error Handling and Vault in Ansible.
Notify and Handler
- Handler is a special task that executes when called by
notifykeyword. Thenotifykeyword is applied to a task and accepts a list of handler names that are notified on a task change.
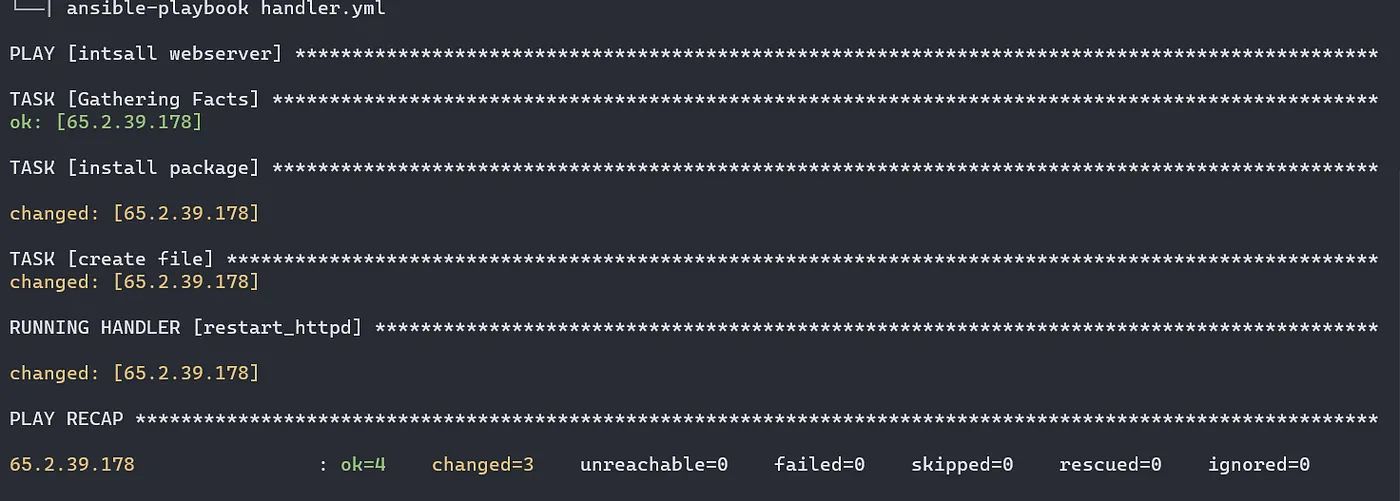
For example, when we are operating on any webserver, instead of restarting the service every time we can specify the time when its required using notify and handler.
- name: intsall webserver
  hosts: all
  tasks:
  - name: install package
    apt:
     name: apache2
     state: present
  - name: create file
    copy:
     content: "Apache2 on Ubuntu"
     dest: /var/www/html/index.html
    notify: restart_httpd
  handlers:
  - name: restart_httpd
    service:
     name: apache2
     state: restarted
Error Handling using Block, Rescue and Always
Ignoring errors: In ansible we can ignore errors and let the playbook continue execution further.
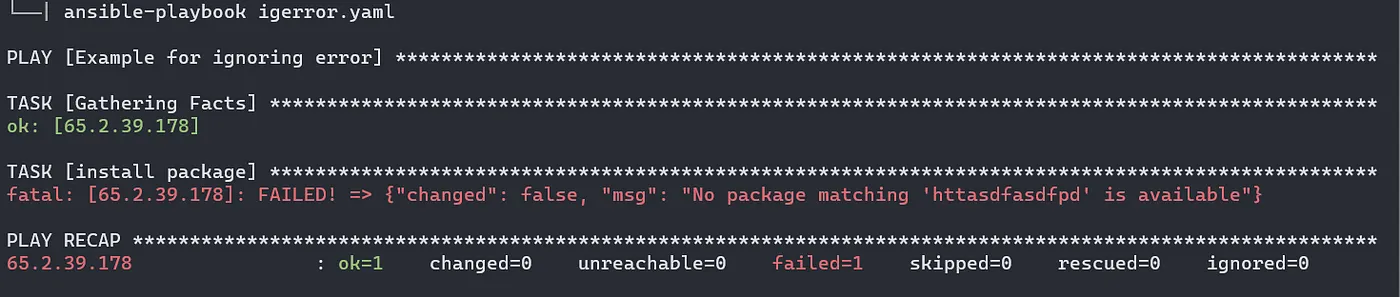
In the below example, we have motioned some random words as a package to install. But since nothing like that exists, our playbook will stop executing and the 2nd task will not be carried out. To avaod this , we can use ignore_errors: yes in the a specific block which is not related any other tasks.
#vim igerror.yml
- name: Example
  hosts: all
  tasks:
  - name: install package
    apt:
     name: httasdfasdfpd
     state: present
    ignore_errors: yes
  - name: create file
    copy:
     content: "This is myfile"
     dest: /var/www/html/index.html

Blocks
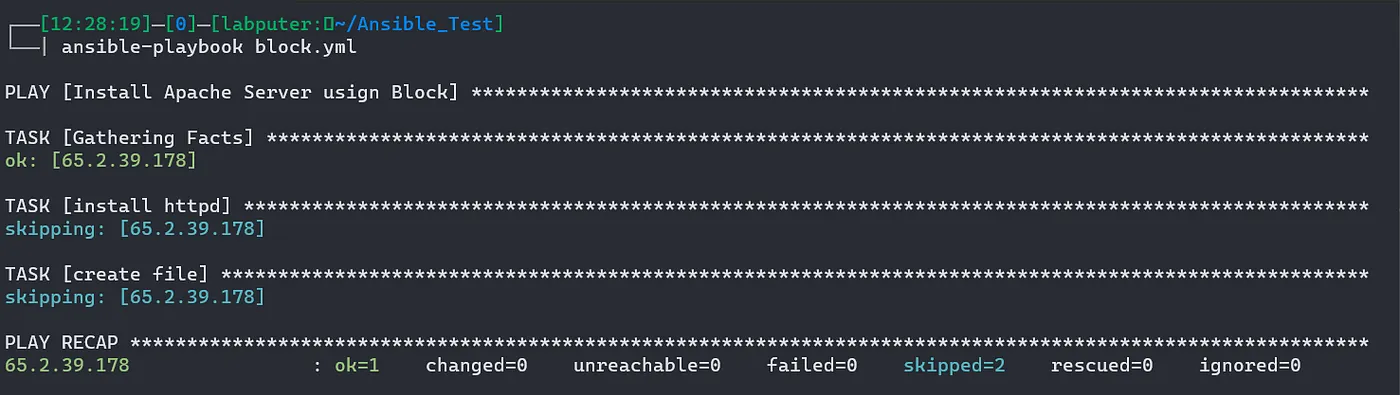
We create logical groups of tasks using blocks. It also offer ways to handle task errors, similar to exception handling in many programming languages.
#vim block.yml
- name: Install Apache Server usign Block
  hosts: all
  tasks:
  - name: install webserver if centos
    block:
    - name: install httpd
      yum:
       name: apache2
       state: present
    - name: create file
      copy:
       content: "Hello Block"
       dest: /var/www/html/index.html
    when: ansible_distribution == 'Centos'
Handling errors with Block
We can control how Ansible responds to task errors using blocks with rescue and always sections.
Rescue blocks specify tasks to run when an earlier task in a block fails. This approach is similar to exception handling in many programming languages. Ansible only runs rescue blocks after a task returns a ‘failed’ state. Bad task definitions and unreachable hosts will not trigger the rescue block.
We can also add an always section to a block. Tasks in the always section run no matter what the task status of the previous block is.
- name: Example of Error Handling
  hosts: all
  tasks:
  - name: install webserver if Ubuntu/Debian
    block:
    - name: install Apache
      apt:
       name: apache2
       state: present
    - name: restart service
      service:
       name: httpd
       state: restarted
    rescue:
    - name: restart webserver
      service:
       name: apache2
       state: restarted
    always:
    - name: create file
      copy:
       content: this is always task
       dest: /var/www/html/index.html
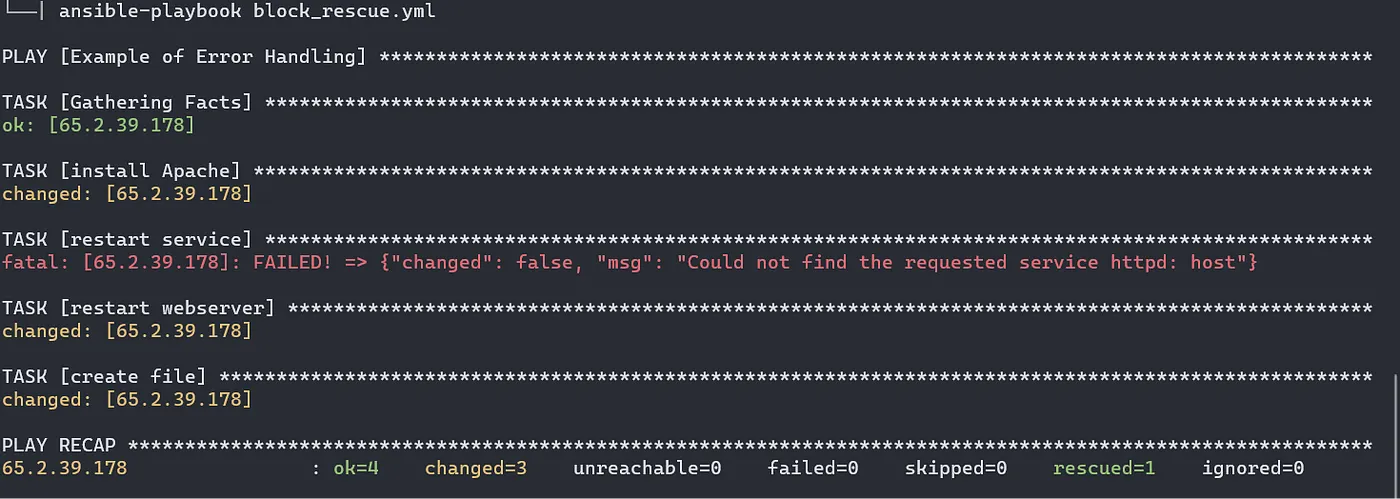
In the above example, we are installing and restartng apache web server. However on the first restart task, the package name is set to be httpd, which is not correct in case of debian based machines.
So to avoid any failures we have rescueblock which contains the correct package name.
Apart from that we have always section to create the index.html no matter the status of installation and restart tasks.
Vault:
Ansible Vault encrypts variables and files so you can protect sensitive content such as passwords or keys rather than leaving it visible as plaintext in playbooks or roles. To use Ansible Vault you need one or more passwords to encrypt and decrypt content. Use the passwords with the ansible-vault command-line tool to create and view encrypted variables, create encrypted files, encrypt existing files, or edit, re-key, or decrypt files. You can then place encrypted content under source control and share it more safely.
To create a new encrypted file use the command. Use a password when prompted. the editor opens and you’ll be able to write your playbook.
ansible-vault create <filename>

Now lets try to see the content of the file with cat.

To view the content, we can ansible-vault view command. Enter your password when prompted.

Lets encrypt an existing playbook. Use the below commad:
ansible-vault encrypt <filename>

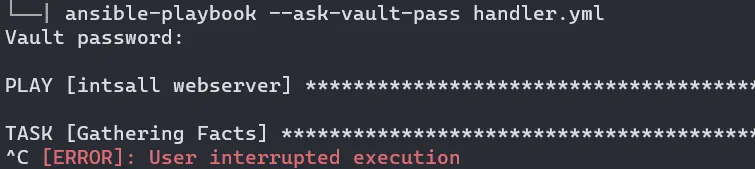
Since this playbook is encrypted, we can’t simple use ansible-playbook for task execution. We need to specify — — ask-vault-pass and provide the pw.
└──| ansible-playbook handler.yml
ERROR! Attempting to decrypt but no vault secrets found
Roles:
Roles let us automatically load related vars, files, tasks, handlers, and other Ansible artifacts based on a known file structure. After you group your content in roles, you can easily reuse them and share them with other users.
Role creates a directory structure with different sub directories for individual task separation.
Directory Structure:
roles/
    common/               # this hierarchy represents a "role"
        tasks/            #
            main.yml      #  <-- tasks file can include smaller files if warranted
        handlers/         #
            main.yml      #  <-- handlers file
        templates/        #  <-- files for use with the template resource
            ntp.conf.j2   #  <------- templates end in .j2
        files/            #
            bar.txt       #  <-- files for use with the copy resource
            foo.sh        #  <-- script files for use with the script resource
        vars/             #
            main.yml      #  <-- variables associated with this role
        defaults/         #
            main.yml      #  <-- default lower priority variables for this role
        meta/             #
            main.yml      #  <-- role dependencies
        library/          # roles can also include custom modules
        module_utils/     # roles can also include custom module_utils
        lookup_plugins/   # or other types of plugins, like lookup in this case
    webtier/              # same kind of structure as "common" was above, done for the webtier role
    monitoring/           # ""
    fooapp/               # ""
Lets create a role named “apache”
ansible-galaxy init apache
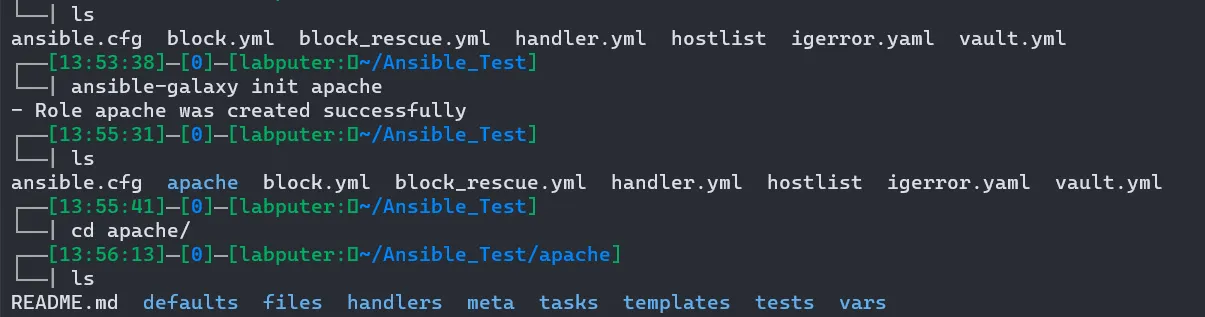
Move inside apache/tasks/ and edit the main.yml with your play.
---
# tasks file for apache
- name: install package
  apt:
   name: apache2
   state: present
To run this, we need to crate a playbook at outside our roles directry and call this role.
# role.yml
- hosts: all
  roles:
  - apache
Now we can run the playbook role.yml and it will execute the taks we have defined in the apache role we created earlier.
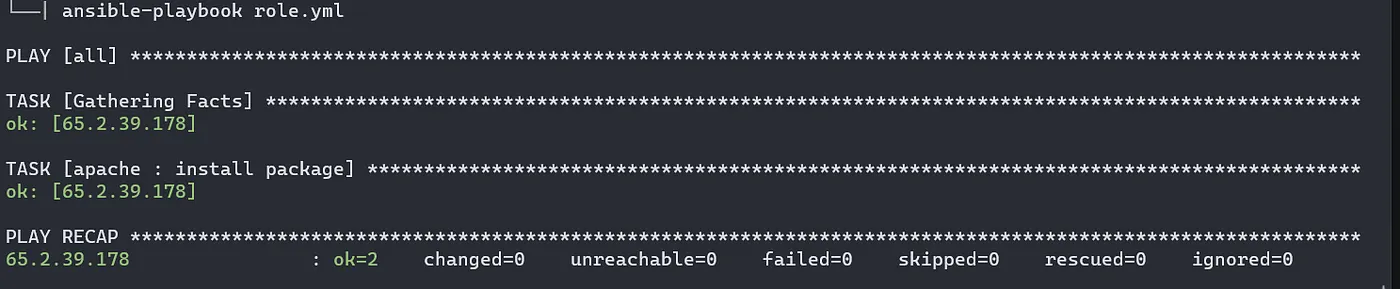
There are many more features with role such as using jinja2 template, variables, handler and etc.
This is the final chapter on ansible series. Thanks for reading it.
Read previous chapters here.
Referneces: Ansible Docs