
Setup Host
First, set up an instance. I chose AWS EC2, but you can use any cloud provider or your own physical server.
Hardware Requirements
Do not try to use the “Free Tier” t2.micro or t3.micro. GitLab runs several background services (PostgreSQL, Redis, Sidekiq) that require significant memory.
- Minimum: 4GB RAM (e.g.,
t3.medium). Note: If you use 4GB, you must configure a 4GB Swap file or the installation will crash. - Recommended: 8GB RAM or more (e.g.,
t3.largeort3.xlarge). This ensures a smooth experience without lag. - Storage: At least 20GB–40GB . For learning purposes, 8GB is enough.
Network Configuration
Before launching, ensure your AWS Security Group has the following Inbound Rules open to the world (0.0.0.0/0):
| Port | Protocol | Purpose |
|---|---|---|
| 80 | HTTP | Let’s Encrypt Validation |
| 443 | HTTPS | Secure Web Access |
| 22 | SSH | Remote Terminal Access |
Mapping your Domain
Create an A record DNS entry at your domain registrar pointing your desired subdomain (e.g., gitlab.sagapanda.com) to the machine’s Public IP.

Add GitLab Repository
First, update the cache and install curl if it’s not already there. Then, add the GitLab repository to your system:
bash
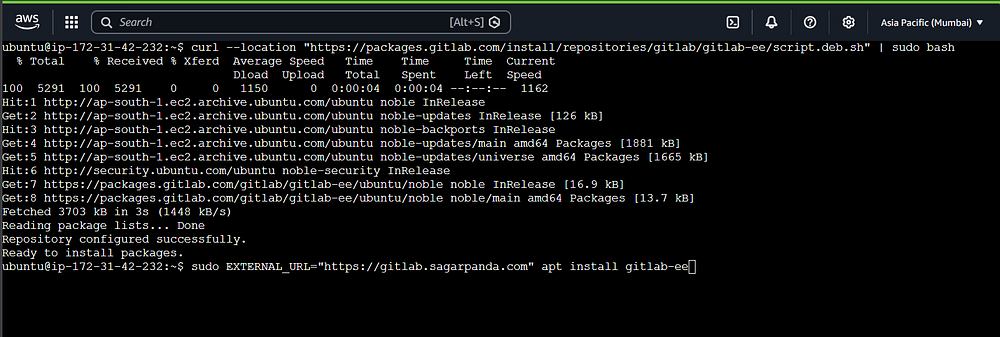
curl -sS [https://packages.gitlab.com/install/repositories/gitlab/gitlab-ee/script.deb.sh](https://packages.gitlab.com/install/repositories/gitlab/gitlab-ee/script.deb.sh) | sudo bash
Here I have added the gitlab-ee package, you can choose to replace the ee with ce for community edition. However ee without a license essentially works as ce and we can upgrade to ee seamlessly when we want. We also have 30 days of GitLab ultimate free trial with ee.
Installation & SSL Setup
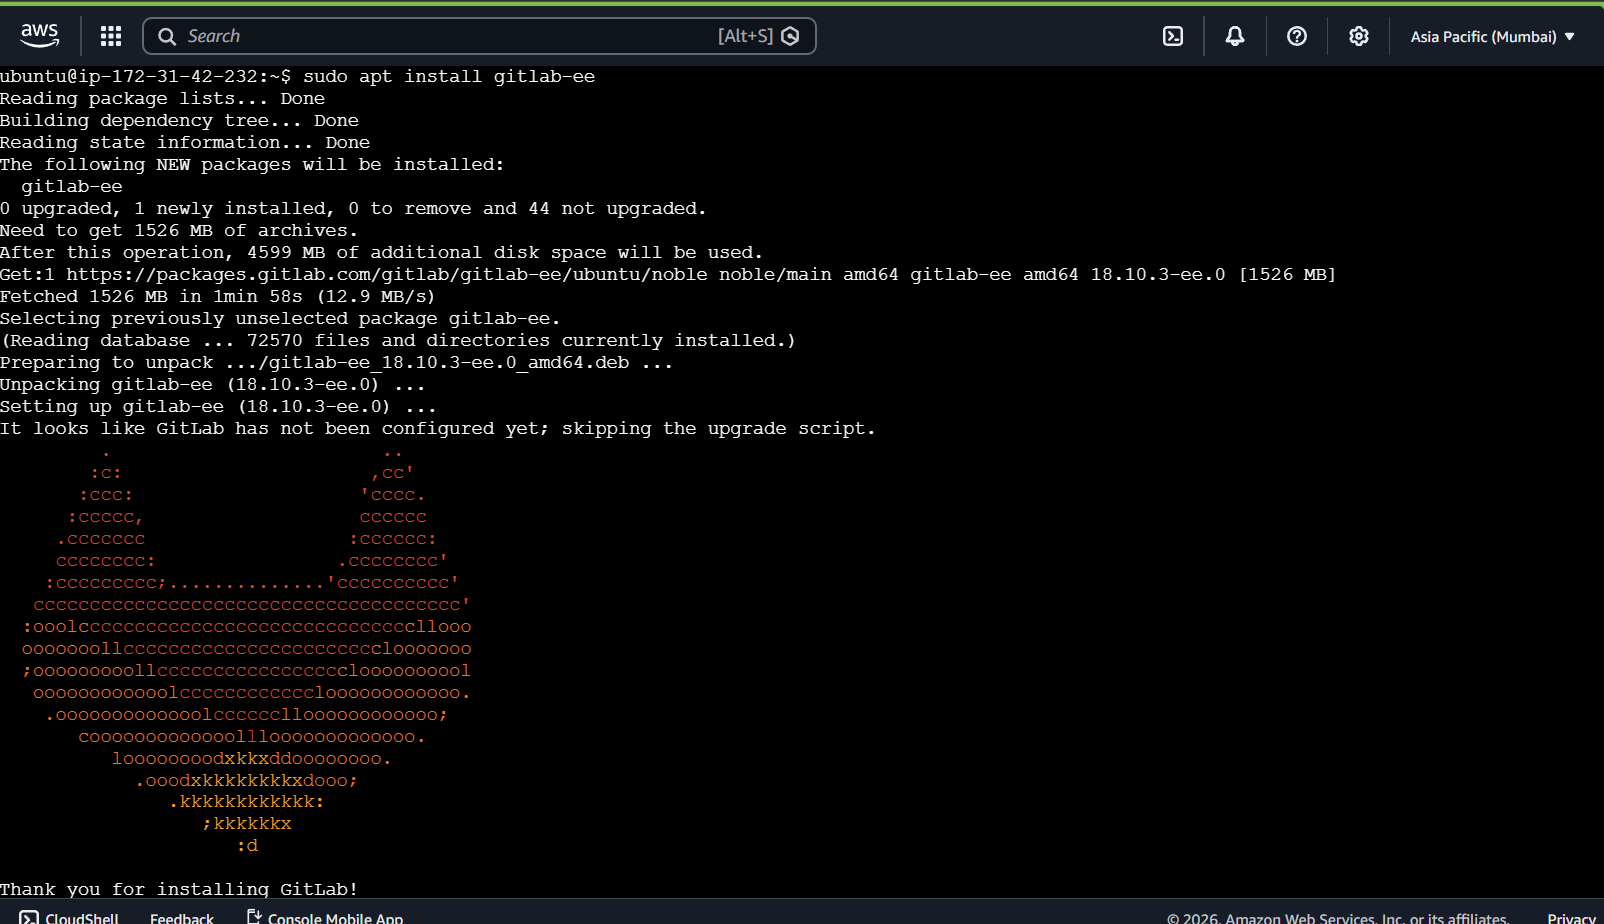
Now run the cmd to install GitLab. You can either setup external URL now or can configure it later if you choose. I chose to configure later.
sudo apt install gitlab-ce or gitlab-ee
(OR)
sudo EXTERNAL_URL="https://gitlab.yourdomain.com" apt install gitlab-ee
Note: Replace ee with ce if you added ce package earlier.
Now open the gitlab config file located at /etc/gitlab/gitlab.rb and search for external URL and update your domain. use ctrl+w to search in nano or any other key combo in other editors.
sudo nano /etc/gitlab/gitlab.rb
If you ran the install cmd with external URL, this would already be set.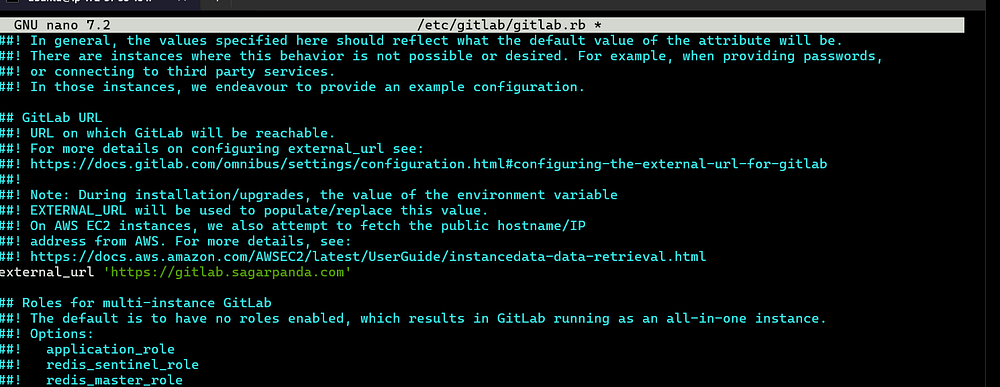
Again search for letsencrypt and the lets encrypt section for cert. Uncomment the first 2 lines and set the first value to ’true’ which would be nil. Add your valid email address for the 2nd value inside quotes.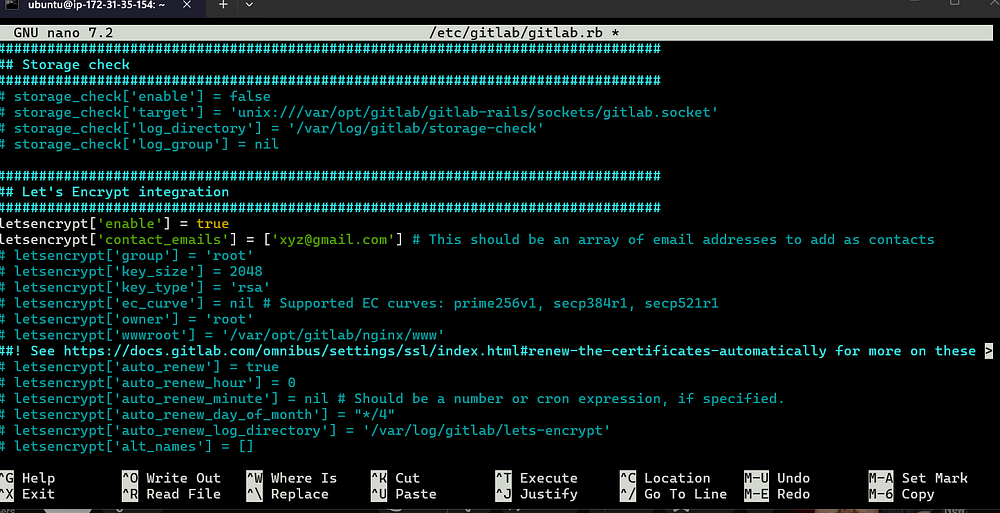
Once set, you can save it and run the gitlb-ctl reconfigure for the changes to take effect.
sudo gitlab-ctl reconfigure.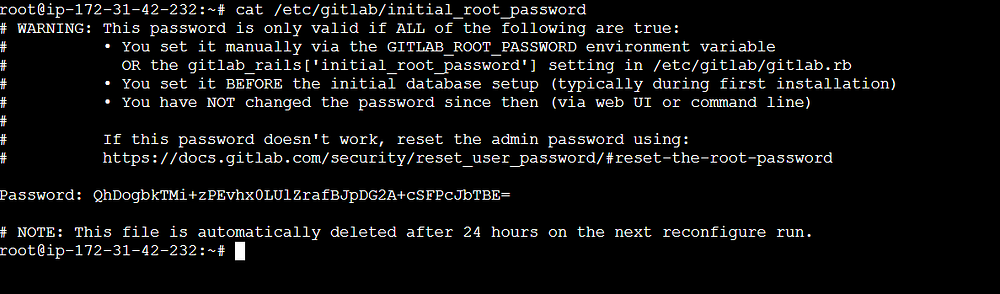
There we go, we have our gitlab ready. Get the initial admin pw from /etc/gitlab/initial_root_password, this expires in 24 hours.
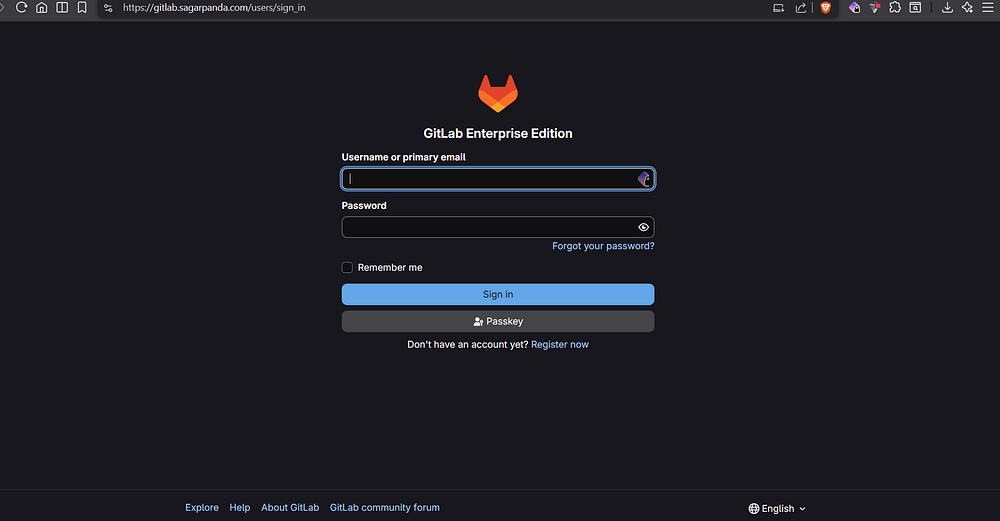
The username is root and with the pw obtained earlier, you can login. As we can see sign up is enabled by default, meaning anyone could access our GitLab by just signing up themselves so its better to disable it and allow only user creation by admin. Click on the first deactivate button to do so.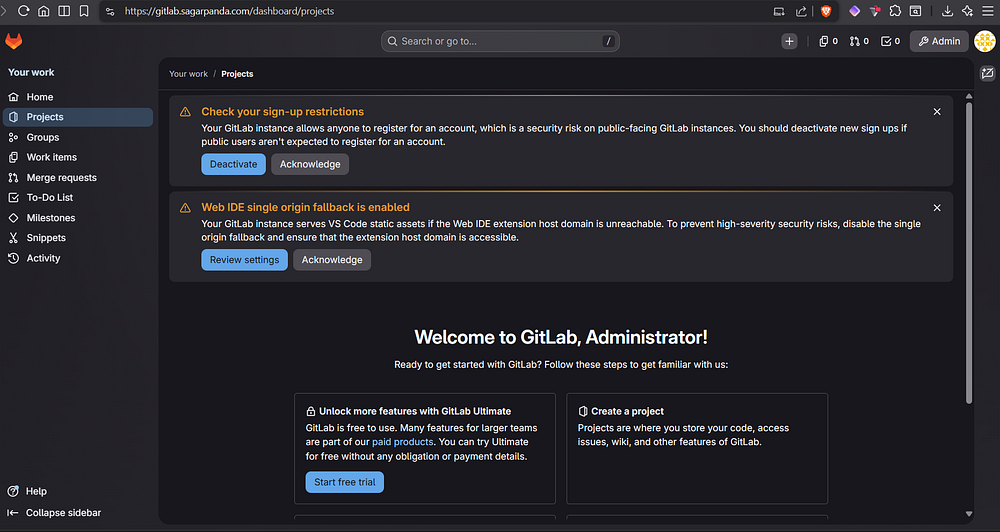
Now you can create another user and other relevant user management in the same page.
Wrapping Up
Congratulations! You’ve just successfully setup your GitLab repo. By self-hosting GitLab, you now have total control over your repositories, CI/CD pipelines, and data privacy. Continue exploring further.